The journey from worm farming novice to expert is full of trials and tribulations. Many try to advance to the lofty heights of worm guru, most fail…
Er, not true! Worm farming is super easy, interesting and fun. Best of all, the organic, non-chemical compost produced as a result is GREAT for your garden. There’s not much standing in the way of you becoming a worm farming expert, and today we’re going to give you a nudge in the right direction.
Let’s start by throwing around some fancy terminology… vermicomposting!
What is Vermicomposting?
‘Vermi’ means worm, so vermicomposting is a term for the production of compost using earthworms. Or, as we like to call it, worm farming. Worms are extremely efficient at breaking down food waste, taking weeks as opposed to the months that traditional composting takes.
The basic premise of vermicomposting is very simple: You feed the worms biological matter from your household waste. They digest it. They produce ‘worm castings,’ a nutrient rich end-product containing a powerful blend of nitrogen, phosphates and potash.
You might hear this end-product referred to as ‘black gold’, because it's simply so valuable in the gardening world. The soil fertility and plant health in your garden improves in leaps and bounds, and you start producing nutrient-dense vegetables for your family to enjoy.
The Benefits of a Worm Farm
Vermicomposting spreads its wormy tentacles of goodness through your life in many ways. Here are some:
Reducing household waste: The entire globe has a waste problem, fuelled by consumerism and poor waste management methods. A worm farm is a way of combating this, taking the 150-kilograms per year of food waste you’d normally send to landfill and using it for good. You can even use paper waste in your worm farm. It’s a powerful means of reducing the environmental impact of your home and making a positive impact on climate change.
Improved fertility in your garden: We’ve spoken about how worms digest biological waste and create a super food for your garden. Through their tunnelling and burrowing they also aerate the soil, creating soil textures conducive to plant growth and biological decay. This combination of incredible natural fertiliser and beautifully aerated soils can turn a lifeless backyard into a healthy and productive garden!
Save money: There are a number of financial benefits to vermicomposting. For a start, you won’t have to purchase artificial fertilisers or chemicals to get your garden productive, you simply use your home food waste. You’re reducing your use of trash bags and your reliance on council waste disposal. Plus, your healthy and fertile garden will produce delicious home grown vegetables, so you’re buying less from the grocery store.
Education: Vermicomposting is an easy-to-grasp process that the whole family can be engaged in. Kids are usually intrigued by anything to do with worms, so use this as an opportunity to educate them on waste management, gardening processes and climate change in general.
How to Make a Worm Farm
The trick to getting started with vermicomposting is not to overthink it. This is a process that’s been going on since the dawn of time, you’re just finding a way to integrate it into your day-to-day life. It’s not hard and it should seamlessly blend in with your day-to-day activities rather than take up a lot of time and effort.
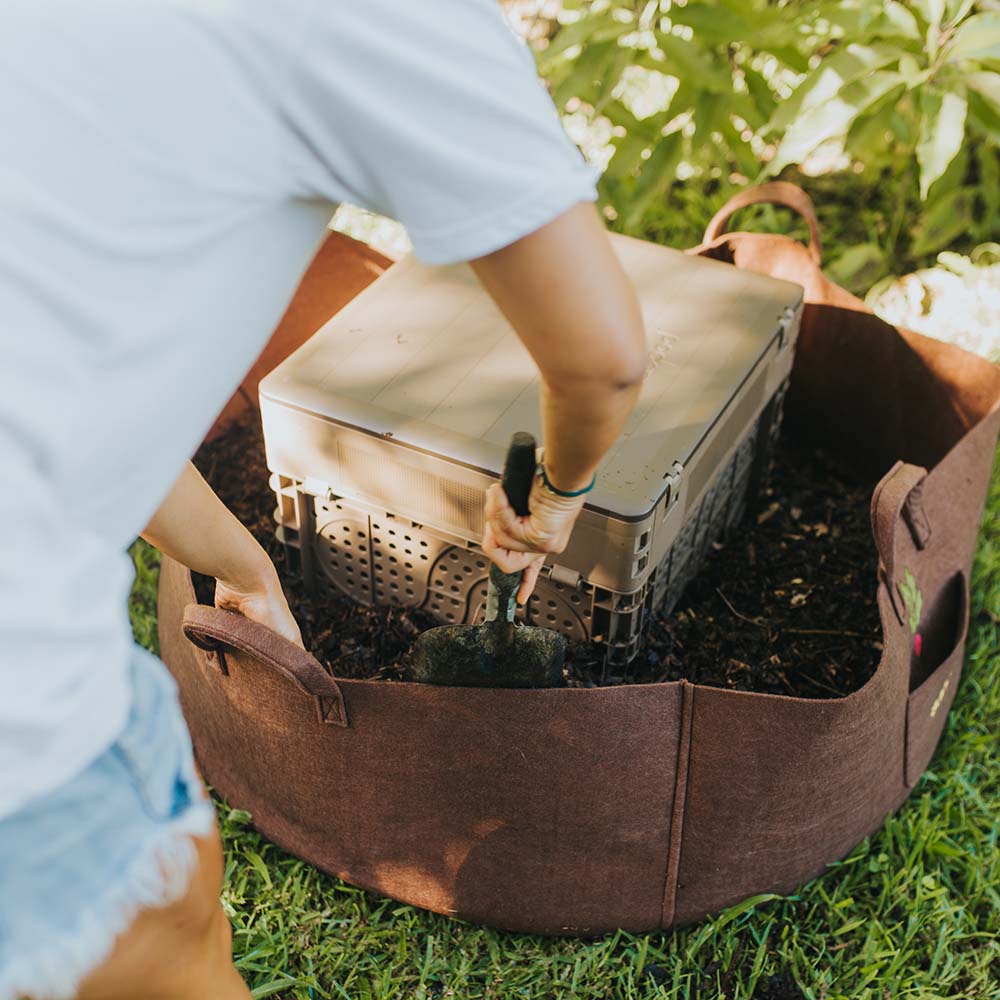
To start off with, you’ll need to find a container for your worm farm. The Subpod compost system is an extremely simple way to get started with vermicomposting. It’s a flat pack design that clicks together in under five minutes, allowing you to begin stress free composting in no time at all. Subpod supplies worm farms Australia wide, so you can get started today.
Once you have your Subpod set up and submerged into your garden, this article tells you exactly how to get your subpod ‘worm ready’, using bedding material and the worm blankets.
There are different types of worms that can be used in vermicomposting. ‘Red Wrigglers’ are a favourite, but having a diversity of worms helps create a more robust worm farm. So add some ‘Night Crawlers’ and ‘Tigers’ into the mix too, as different worm types will be suited to different environments.
After the worms have settled in the farm for about a week, you’re ready to start feeding them biological waste from your home.
How to Maintain a Worm Farm
Maintaining your worm farm is mostly about ensuring they’re getting the correct amount and types of food. Red Wriggler worms eat about half their body weight every day, so you need to keep up the supply of food waste.
If something decomposes naturally, it can go into your worm farm, although we’d suggest not putting dairy or meat products in there. They’re harder to digest and will be more smelly.
It’s also a good idea to add dry carbon (paper or cardboard works) to balance out the moisture in your farm and give the worms a variety of things to eat. They love that!
Regularly aerating and turning your compost will also help give the worms air. It mixes in your food waste with your compost, which reduces any smells from the waste.
Continue Your Worm Farming Journey
We hope this article helps you on your way to becoming a worm farming expert! It’s a fun and exciting way to help the planet and make your household a whole lot healthier.
Once you start, we’re positive you’ll want to know more and do more. So why not join our Grow Hub community? You’ll find loads of information on all things vermicomposting and Subpod. Check it out below:


Leave a comment
This site is protected by reCAPTCHA and the Google Privacy Policy and Terms of Service apply.